
Détendez-vous lors d’un weekend à thalasso en amoureux
Laissez derrière vous le stress du quotidien et offrez à votre couple un véritable havre […]
Laissez derrière vous le stress du quotidien et offrez à votre couple un véritable havre […]

Voyager à moto se vit aussi au rythme des saisons, chaque période offrant ses nuances […]

Au cœur de notre établissement, un festin culinaire de luxe s’entremêle avec une ambiance élégante […]

Le yacht n’est pas seulement un moyen de transport sur l’eau ; c’est une expression […]

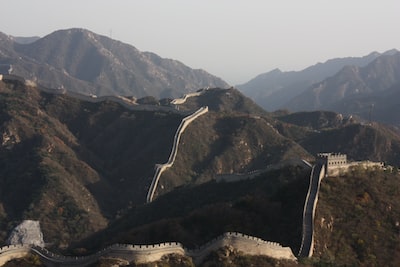
La Chine est un pays immense et diversifié. Il offre une multitude d’opportunités pour les […]

Les passionnés de pâtisserie devraient veiller à équiper leur cuisine de tous les outils nécessaires. […]

La omra revêt une importance significative dans l’Islam. Effectivement, celle-ci demeure une démarche sacrée qui […]

HelpX est une plateforme mondiale qui offre des opportunités dans de nombreux pays à travers […]

Annecy, la magnifique ville nichée au coeur des Alpes françaises, est souvent surnommée la Venise […]

La ville d’Annecy est bien connue pour sa beauté naturelle à couper le souffle. Elle […]

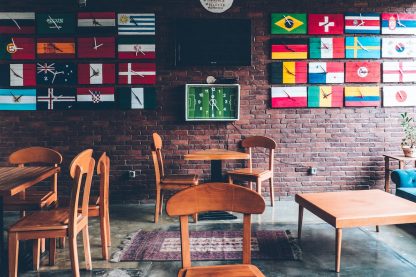
Si vous rêvez d’évasion et de détente, le café Oz est l’endroit idéal pour satisfaire […]

Voyager est bien plus qu’une simple exploration géographique. C’est également une opportunité de rencontrer de […]

Vous souhaitez découvrir des merveilles naturelles lors de votre séjour au camping des Gorges de […]

La Drôme Provençale est une région implantée dans le sud-est de la France. Elle est […]

Lisbonne, l’une des villes les plus charmantes d’Europe, regorge d’attractions touristiques incontournables. De la Tour […]

Avec l’arrivée des vacances, nombreux sont ceux qui cherchent à se ressourcer, à se détendre […]

Tout comme une voiture à moteur classique ne peut rouler sans essence dans le réservoir, […]

Le jazz est un style de musique qui est apprécié depuis fort longtemps. Dans cette […]
Depuis l’Antiquité, l’humanité a été fascinée par les merveilles du monde. Les sept merveilles du […]
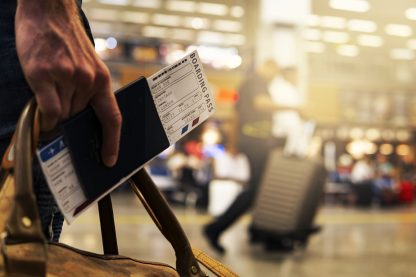
Vous avez un passeport français et vous voulez voyager vers le Cameroun ? Pour séjourner au […]

L’île de Bonaire compte parmi les merveilles naturelles caribéennes. On ne s’étonne donc pas du […]
Comme l’AVE est une autorisation électronique, il n’est pas nécessaire de se déplacer pour faire […]
L’utilisation des étiquettes de bagages a favorisé la reconnaissance de ses valises lors d’un voyage. […]

L’escalade est l’un des sports les plus prisés par les gens, que ce soit les […]

L’escalade est un sport qui consiste à monter jusqu’à un certain point en s’aidant des […]
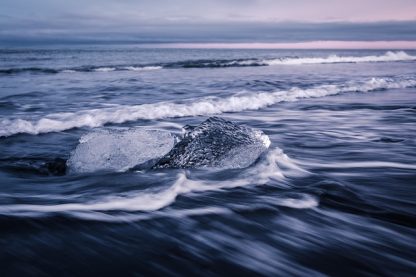
Les raisons d’aller en Islande sont pratiquement infinies. Il ne fait aucun doute que tout […]
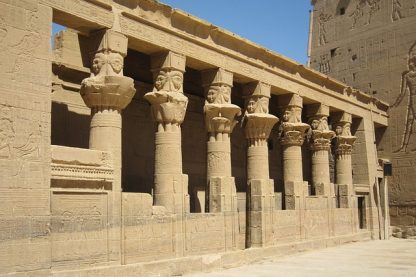
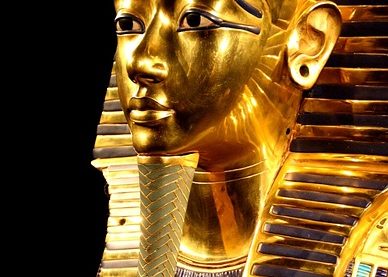
L’histoire de l’Égypte ancienne est l’une des plus fascinantes au monde. Cette histoire a été […]

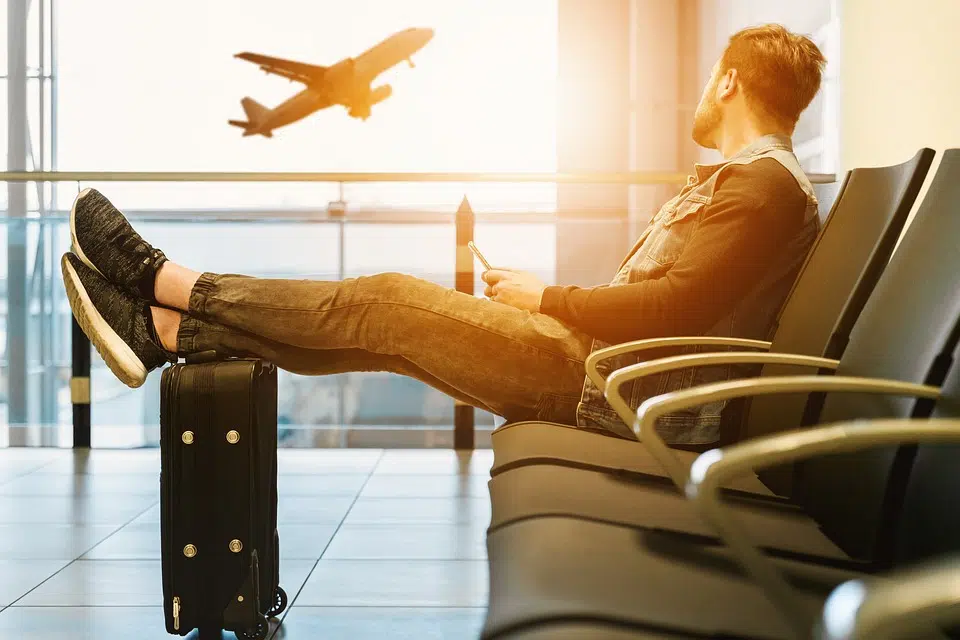
Tout voyage, pour être bien effectué, doit être organisé et préparé avec soin. Si vous […]
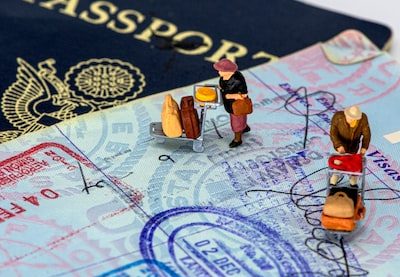
De nos jours, pour entrer dans certains pays, il est obligatoire d’obtenir un visa. C’est […]

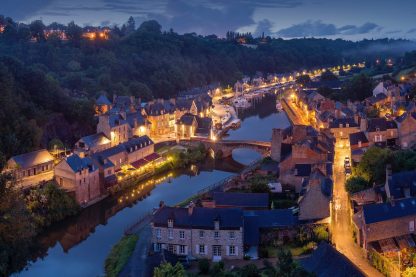
Vous souhaitez vous évader des circuits touristiques classiques et profiter du charme authentique de la […]

Le nombre de touristes internationaux a augmenté de 4,4% en 2018, selon le dernier rapport […]

Le pays le plus perdu au monde est une étiquette que l’on peut attribuer à […]
Le tourisme est une activité économique importante dans le monde. Selon l’Organisation mondiale du tourisme, […]

Il y a tellement de magnifiques endroits à travers le monde entier. C’est difficile de […]

La Russie est une puissance mondiale avec de nombreux alliés dans le monde. La Russie […]
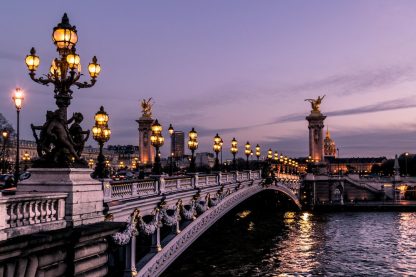
La France est une des destinations touristiques les plus populaires au monde, attirant millions de […]
Les Français sont souvent perçus comme hautains et égocentriques par les autres nations. Pourtant, il […]

Il y a plusieurs raisons pour lesquelles la France est considérée comme le plus beau […]

L’accueil est le premier pôle d’attraction des touristes internationaux. C’est là que se trouvent les […]